Cooking with kids: Rusty’s Winter Warmer Granola

Enlist the help of your toddler to make a healthy, tasty and pure Granola that’ll give you something guilt-free to look forward to every morning.

rusty's granola

Ingredients:

I use about 100 grams each of the below nuts / seeds:-

Linseed – great plant source of omega 3 fats, adds a nice crunchy texture to the granola

Walnuts – omega 3 fats, can reduce risk of cardiovascular disease, source of antioxidants, good for your brain

Pecans – Great source of vitamin E which is important for healthy skin

Brazil nuts – rich in mono-unsaturated fats, vitamin E

Almonds – good source of magnesium which is good for a healthy heart, potassium, vitamin E

Sunflower seeds – lots of Magnesium, vitamin E, Selenium (may be good for preventing cancers)

Pumpkin seeds – contain Zinc which is great for your immune system, mood, sleep, skin (and more)

Dried, diced papaya and / or pineapple – taste great

One large cooking apple – for binding the granola

Honey – so good for you in so many ways I can’t list them all here and anyway you need it to bind the granola together

Oats – I use quick cook oats as they’re easier to buy in a supermarket but simple rolled oats are a longer lasting energy source

How to

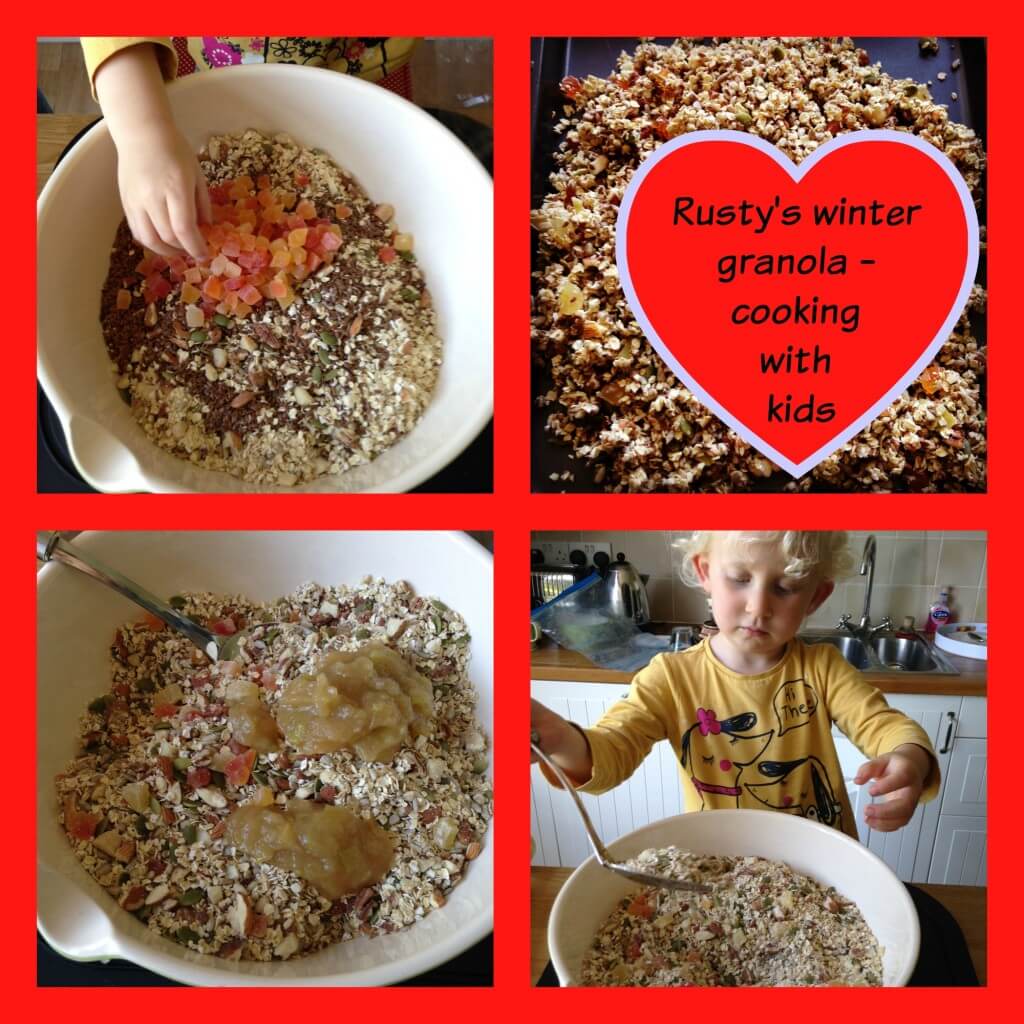
Slice up the large cooking apple into chunks and put in a pan with three or four tablespoons cold water. Put a lid on and give it 5-10 minutes at a low – medium heat. Have a look and give it a mix. Once it’s the texture of apple sauce take it off the heat and put it to one side while you prepare the rest of the granola.

This is where your toddler will love helping. Show her all the nuts you’ve bought for your granola and tell her what they are, what’s good for her about them and encourage her to have a taste (being mindful about allergies and choking – you know your own kids). She won’t like all of them but will hopefully like some. Eating nuts is a great habit to get children into – they’re great for snacking and keep really well. Very healthy in moderation.

Now help your toddler to pour all of the nuts into a big, strong freezer bag. Seal up the bag (be sure to squeeze the air out first) and get a rolling pin. On a large chopping board or tough surface, help your toddler to smash the nuts up with the rolling pin. Keep her fingers out of the way and be sure to make some serious noise. I personally like to make monkey noises as loudly as possible with Joss. It’s a fun way to let off some steam and smile. If the noise is too much for you or someone else at home, you could provide some monkey ear muffs for the duration. I try not to worry about the size of the nut fragments, it’s nice to have a bit of a mixture for texture and crunch.

Get a big mixing bowl and pour in 500 grams oats, the smashed up nuts, seeds and dried papaya / pineapple. Ask your toddler to give it a quick mix to make sure the nuts and seeds are evenly distributed.

rusty's granola 3

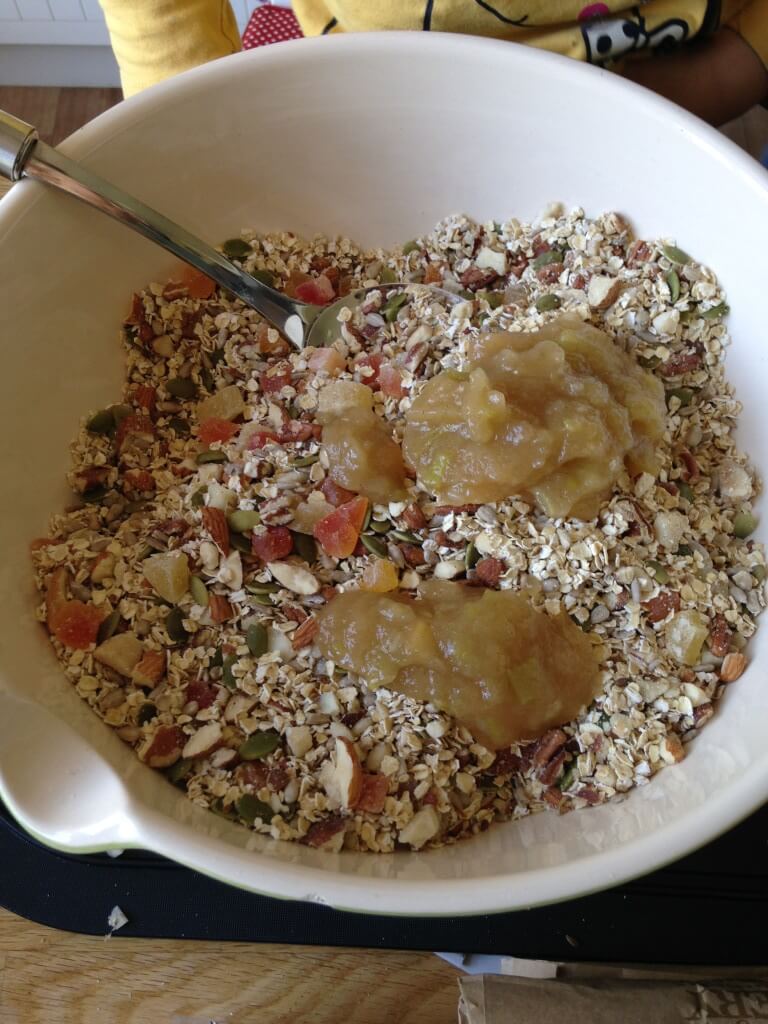
Now take the pan of cooked apple from earlier which should still be warm. Help your toddler to add 2 – 4 tablespoons of honey and mix in. You can use whatever honey you like but I really like using an orange blossom honey for the citrus taste. I add a couple of teaspoons of ground cinnamon too and then ask Joss to mix it up really well, trying to make sure the cinnamon is well combined, get your toddler to have a smell, amazing!

rusty's granola 1

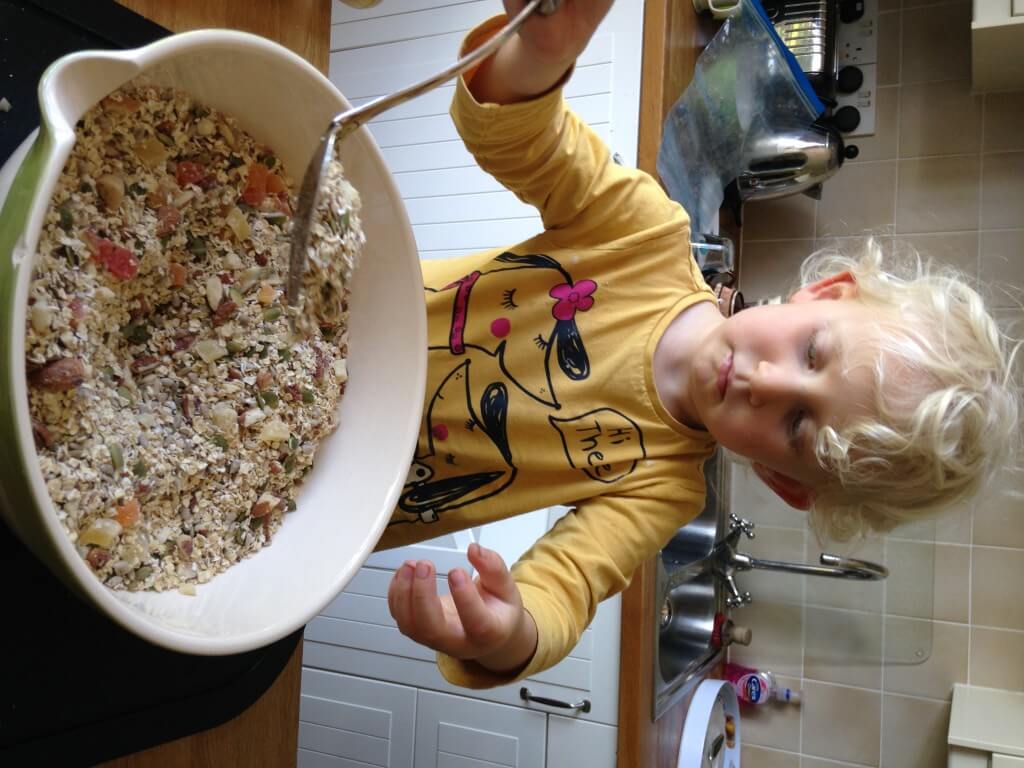
Ask your toddler to spoon about half of the apple / honey / cinnamon mixture into the bowl of oats, nuts, seeds and fruit and mix it in well with a big spoon. Once she has combined as much as possible, add the rest of the apple sauce mix too and ask her to give that a good stir in. You might need to help out to ensure that everything is well mixed in. The whole mixture should end up quite stodgy and moist. If it doesn’t fit this description you can always add another tablespoon or two of honey to help it stick together.

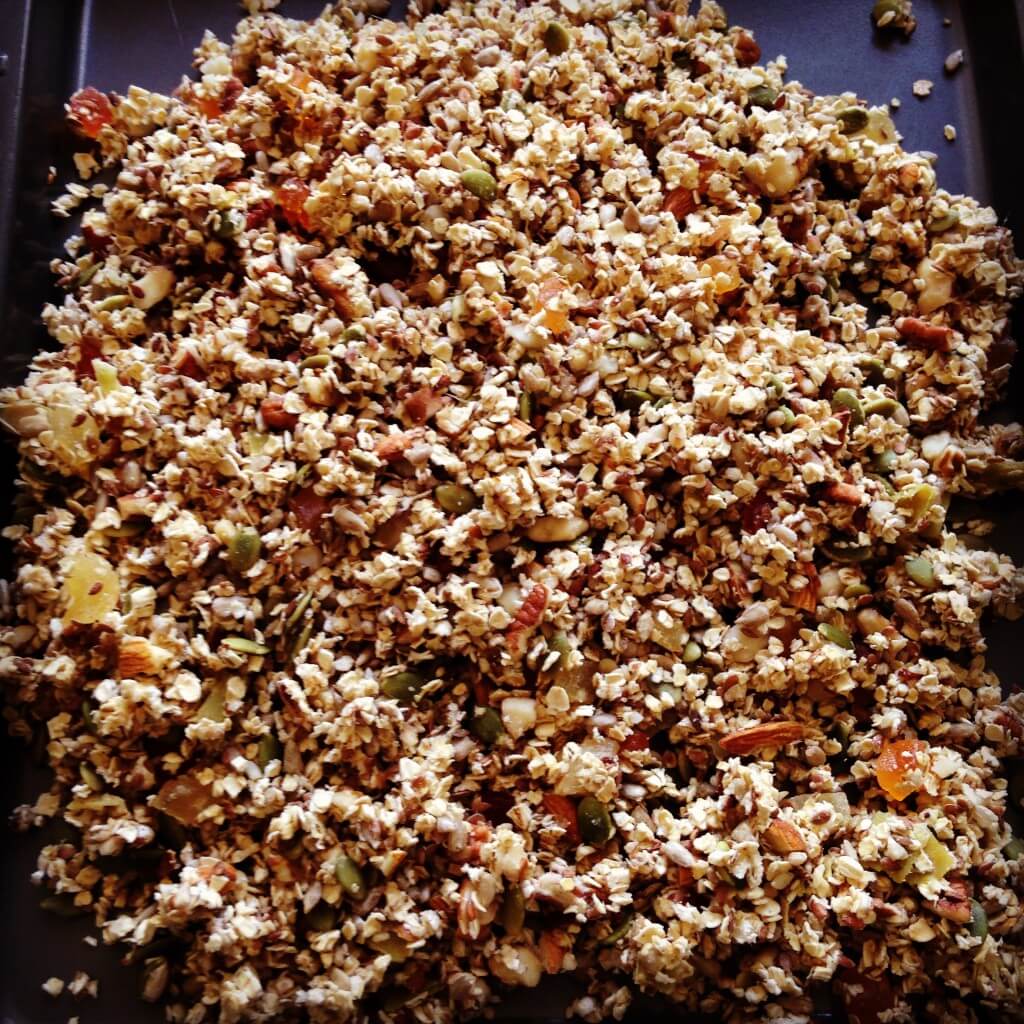
Preheat your oven to around 140 – 160 celsius and spread the mixture out thinly onto baking trays. The last time we made it, the mixture covered 6 baking trays so we had to cook it in three goes. Put each round of baking trays into the oven for around 10 – 15 minutes, checking regularly and redistributing on the tray if necessary. A little browned is ok, but take care not to burn it. Once done, leave out for a few minutes to cool down and fully dry out. Break up gently and store in an airtight container.

rusty's granola 2

I eat Rusty’s granola with either coconut milk or natural yogurt and a little honey. You could try adding fresh fruit to it as well. This granola lasts me a month; don’t overdo it – there are a lot of nuts and seeds in this granola so probably 3 or 4 tablespoons is enough for breakfast. What a great treat on those autumn / winter mornings!

Optional: I sometimes add finely chopped, crystallised ginger before baking. Use in moderation but it’s a brilliant winter warmer!
The Weekend Box Club and Try It Free code!

Fancy something crafty for the weekend? We’ve been reviewing The Weekend Box club this week!

The lowdown on the Weekend Box Club

collage

In November (2014) Weekend Box won ‘Start-Up of the Year’ at the Start-Up Loan Competition in London, the Weekend Box activity packs are designed to fit through your letter box fortnightly and contain four activities to keep little ones aged 3 – 8 busy over the weekend.

1970479_723301621055477_162958948_n

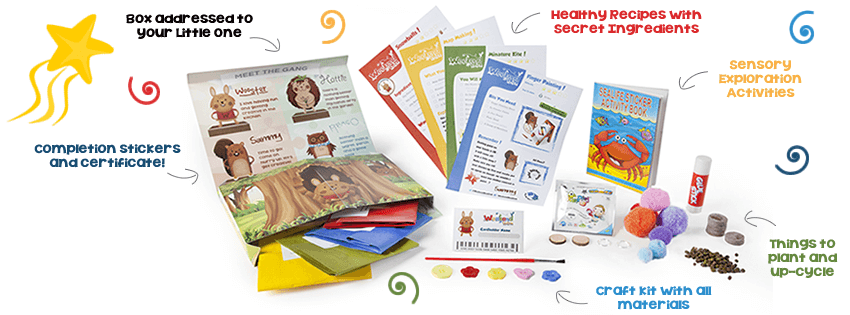
Each box has something foodie, something to upcycle, something to make and something sensory too. Sectioned into handy activity packs with a ‘how to card’ and stickers and certificate on completion the pack is so handy for getting some quick and engaging play off the ground!

collage2

I love that the packs are designed to encourage discussion of healthy eating, recycling/green living and something sensory too, it’s a really well rounded selection!

Each box has:
Something to Cook
Something to Make
Something to Explore
and Something Green

The Theme

The theme of our box was The Aztecs, although Joss is still a little too young to get the deal behind the theme we looked at some cool Aztec prints online in preparation for getting started! When the box arrived I was really impressed with the thought put into the design, how exciting for little ones to receive their own post in a beautifully printed box full of things to make and do.

The Activities

We had a whale of a time with our four activities. We made hot chocolate together and this was a bit of a special moment as J had her first ever hot chocolate and boy did that go down well! We talked about how it was a treat and the spice mix included in the pack smelled so good that it was a sensory activity in itself!

The crafty bits were brilliant, we loved making an Aztec parrot and as J has just learned to get to grips with little scissors making a coaster from foam was fun and resulted in a sweet little gift for daddy to take to work too! Although not the mosaic design that the pack suggested this demonstrates that the materials included can let kids do their own thing too! Finally we both enjoyed making the Aztec prints from string and this is something we’ll definitely do again to make wrapping paper on a larger scale!

What we think

I think this is a brilliant idea and perfect for a rainy weekend or to dip into on a slower day, I’ve just recommended it to a friend who is stuck at home with a tot with chicken pox too! The age range, 3 -8 shouldn’t put anyone with a younger toddler or older one off as the activities are really engaging at both ends of the spectrum (my little lady is almost 3). J and I were delighted with the contents, I loved the powder paint, ingenious stuff, and the resulting makes are brilliant and now taking pride of place in our craft gallery!

Try it for Free!

The lovely people at the Weekend Box Club have given me a promo code for you guys to get your first Weekend Box for free. Boxes can be redeemed from www.weekendboxclub.com with the code ANG236 (new customers only please and just one free box is allowed per household) – I’d love you to share your makes with us!

Cook Together, Share Together, Laugh Together

Family Friendly Week (formerly Parents’ Week) is a national awareness week run by the Family and Childcare Trust. The aim of the week is to increase recognition of the issues faced by families up and down the country, but also to celebrate the vital contribution families make to society.

Cook Together, Share Together, Laugh Together

The theme for this year’s Family Friendly Week is Cook Together, Share Together, Laugh Together so I thought I’d take this as an opportunity to reflect on our family eating habits, what we enjoy about cooking and sharing meals together, and some of the laughs along the way too.

I’m also reblogging one of our favourite family recipes, a healthy treat for toddlers in the shape of my ‘pack a punch toddler flapjacks’ – they’ve had great feedback from other parents and Joss loves getting involved in making them too!

Cook together

My top tip for cooking with toddlers would be to get them involved from a very early stage, preparing food can be a great sensory activity and can be a good starter for little chats about favourite foods, textures and healthy choices. For example when we make these flapjacks we talk about them being a treat or a snack, include plenty of fruit which I generally leave open to Joss’ choices offering her a range of dried or fresh fruits to add to the mixture, and the last time we made them we talked about the honey we add, and about buzzy bees too!

Share together

Sharing a family meal time is important to us and we like to offer Joss plenty of choice and a say in what we eat too. If I ask her what she’d like for dinner nine times out of ten she will say chicken pasta or sausage, broccoli, carrots and potato (it’s become like a song!) so those evenings I will try to accommodate her choices, or ask her to choose between a few different veggies so she feels she’s contributing too!

Laugh together

Clearly when cooking with a toddler much hilarity ensues, the last time we baked bread together we had to start again as the yeast was tipped onto the floor and when we made a crumble Joss was very interested until I said we’d be having homemade custard and she declared she wanted chicken dinner instead and wouldn’t try the crumble at all! There has to be a light-heartedness about family meals, I always said I didn’t want to have a battle over mealtimes and I think we have a fairly relaxed attitude to it all which helps this along, if it all goes wrong and I cut the toast wrong or can’t stick a banana back together after slicing it the ‘wrong way’ (aren’t toddlers fickle?!) the promise of being allowed to stir something in the kitchen or to play with the dried pasta usually gets things moving along again!

My Low Sugar ‘Pack a Punch’ Toddler Flapjack Bars

rp_index.png

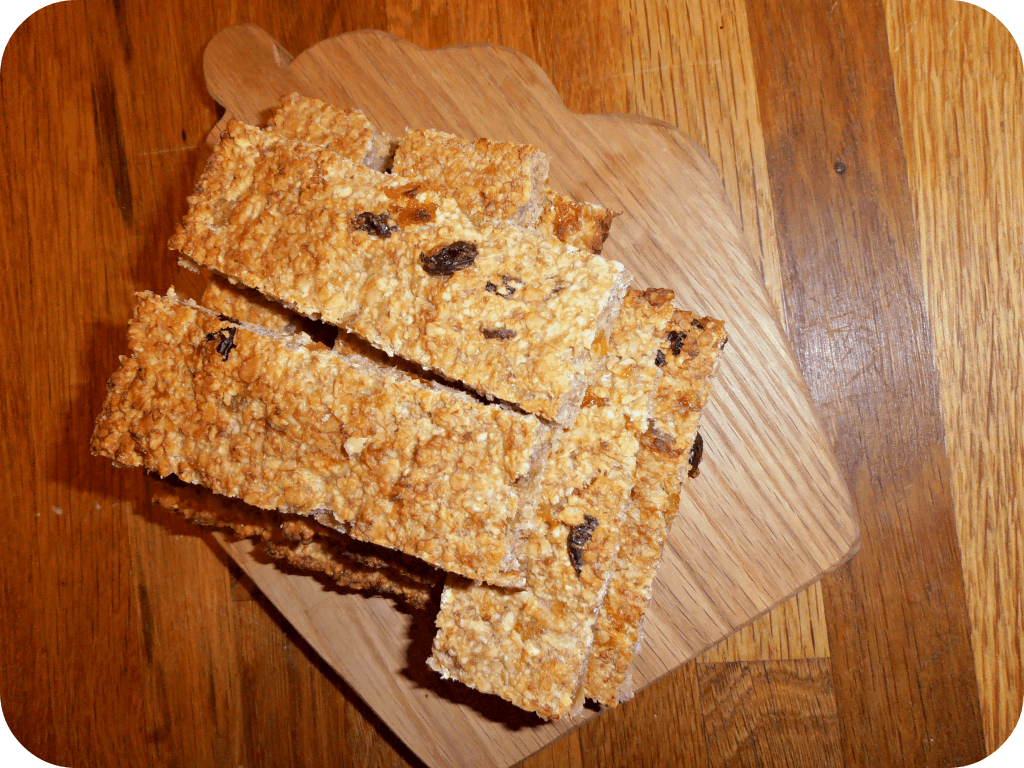
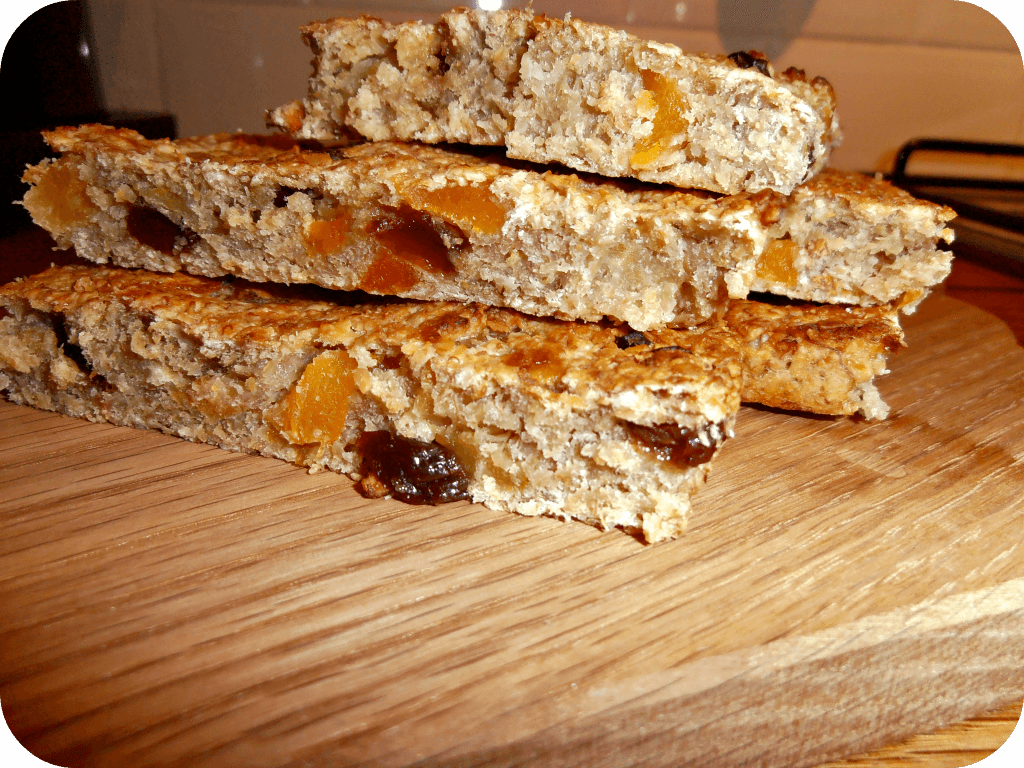
We love to eat these snack bars and adding flour means they hold together with less crumble so they’re really portable too. These are apricot and raisin but they are lovely with dates, prunes or dried berries too! Honey keeps them chewy but can be omitted for even less sugar. Why ‘pack a punch?’ Because they’re chock full of dried fruit and banana to keep you going on a busy day!

Ingredients

100g butter (toddlers could often use the extra fats but you can use light spread for grownups)
100g soft, stoned dried apricots chopped roughly
30g raisins
2 large ripe bananas, mashed
Large tablespoon self raising flour
2 tbsp honey (or fresh apple juice if preferred)
250g porridge oats

Instructions

Preheat oven to 180 degrees.
I make this in one pan, transferring into a silicone tray, if using an ordinary flapjack tray grease with additional butter.
Warm the butter in a saucepan and add the honey or juice, warm gently for a minute to loosen the honey, then turn heat off.
Add the chopped apricots and raisins, and mashed banana and mix well
Measure out the oats and mix self raising flour through them
Tip floury oat mix into the pan and mix well so the oats start to soak the moisture and look golden, the flour should all mix through.

Tip the mix into your flapjack tray and spread out, pressingly gently with the back of a spoon.

Bake for 15-20 minutes or until golden brown

Take out to cool, when cool turn out and slice into bars. Store in an airtight container and eat within 3-4 days.

Enjoy!

So over to you, this Family Friendly Week how are you introducing sharing and laughter into your family meal times?

Natural ice lollies for babies with Nuby Fruitsicles

Nuby Garden Fresh

Nuby’s new Garden Fresh range gets a big thumbs up for promoting home cooking, designed for less waste so that home prepared food can be stored and frozen it prides itself on supporting Mummy Made Goodness.

We try to avoid processed foods where possible and I’ve always made home cooked meals for Joss so this range has big appeal taking you from preparing and storing through to serving up foods for your little one. New products like the Fruitsicles for making fresh ice lollies at home join old favourites like the Nibbler and weaning spoons, the range is really versatile and comes in lovely bright appealing colours for kids.

We often meet with friends we met through the baby led weaning group I co-run, we get together once a month or so to share food with our little ones, we sometimes get joined by new mums who are interested in baby led weaning and share recipes and ideas for home cooking that the whole family can enjoy (it’s where the idea for these potato pancakes came from, saving leftovers to make something totally different!).

Natural ice lollies for babies

As we’ve been having a spell of good weather I prepped a big batch of Fruitsicles for our meeting last week, as well as our famous fruity pack a punch toddler flapjacks! In keeping with the all natural theme we had bowls of blueberries and raspberries, yogurt smoothies and homemade houmous, yum!

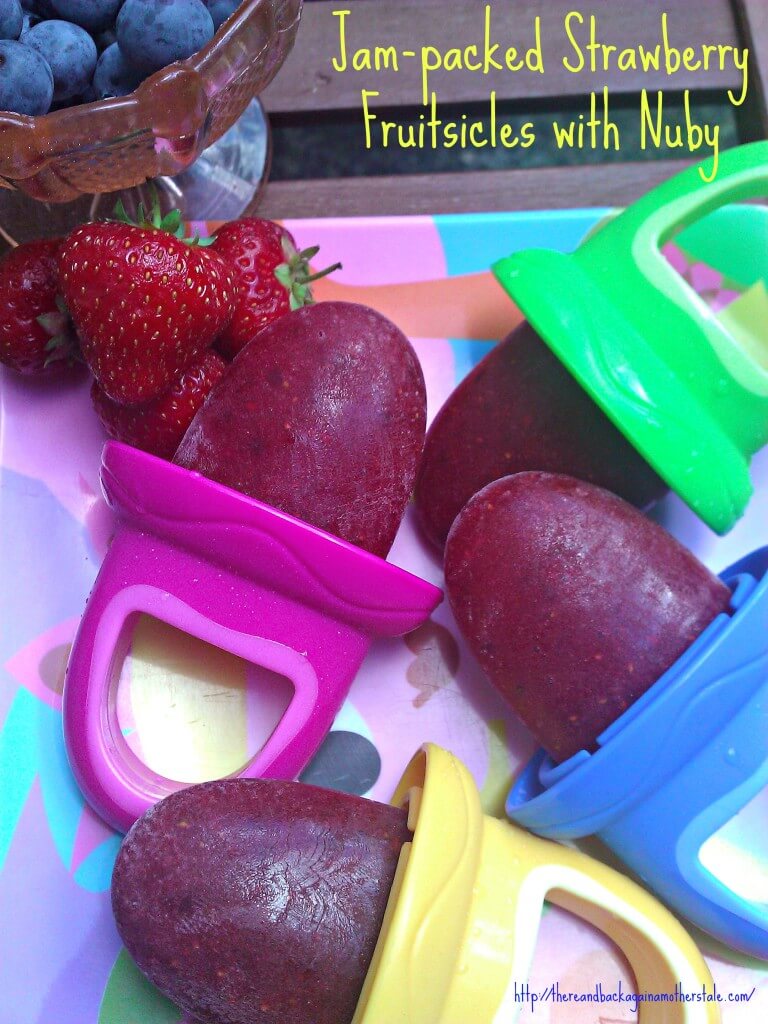
The fruitsicles I prepared were jam-packed with fresh strawberries and two oranges that I had whizzed up in my blender, I kept it to a fairly thick pulpy consistency and then popped spoons of the mixture into the moulds. Each Fruitsicle is filled with two teaspoons of pureed fruit and so they’re great for portion control for babies and toddlers, and the soft grip handles are perfect for little hands.

fruitsicles

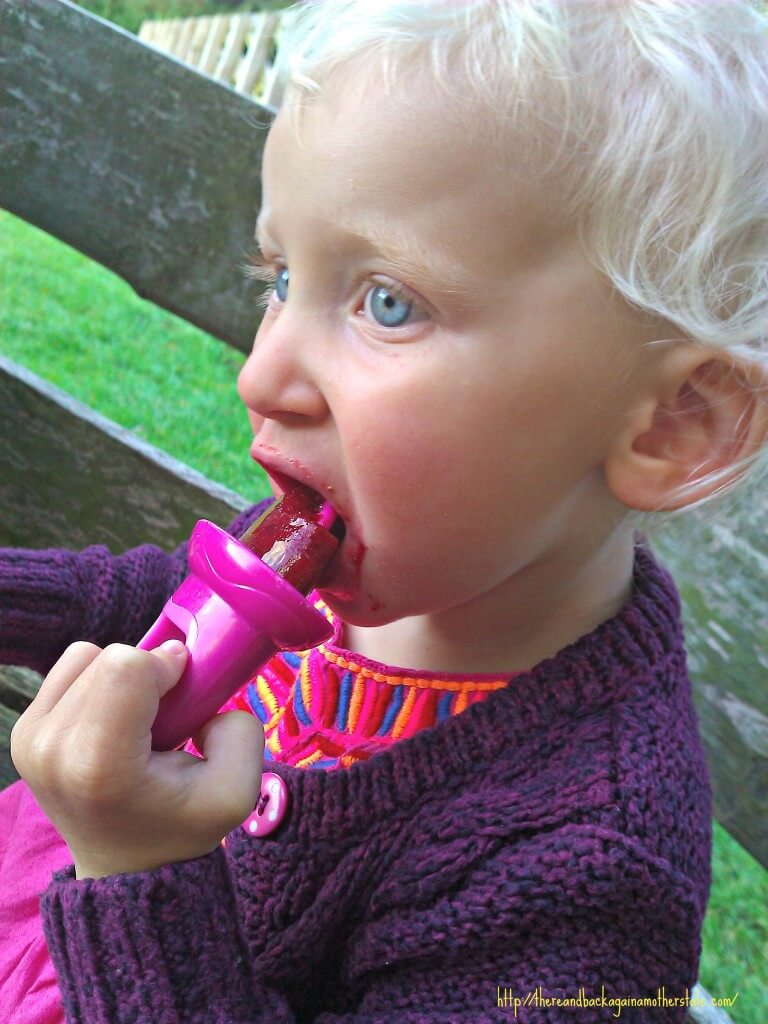
We met in the park and started with the Fruitsicles before they melted, they were a big hit, I had one too (for taste test purposes of course!) and these all natural ice lollies were really fruity and naturally sweet! I later made up a batch using some of the leftover yogurt smoothies but they were so popular they were gone before I could get the camera out (natural yogurt, banana and raspberry if you’re wondering how they were made!)

fruitsicles 2

Giveaway time!

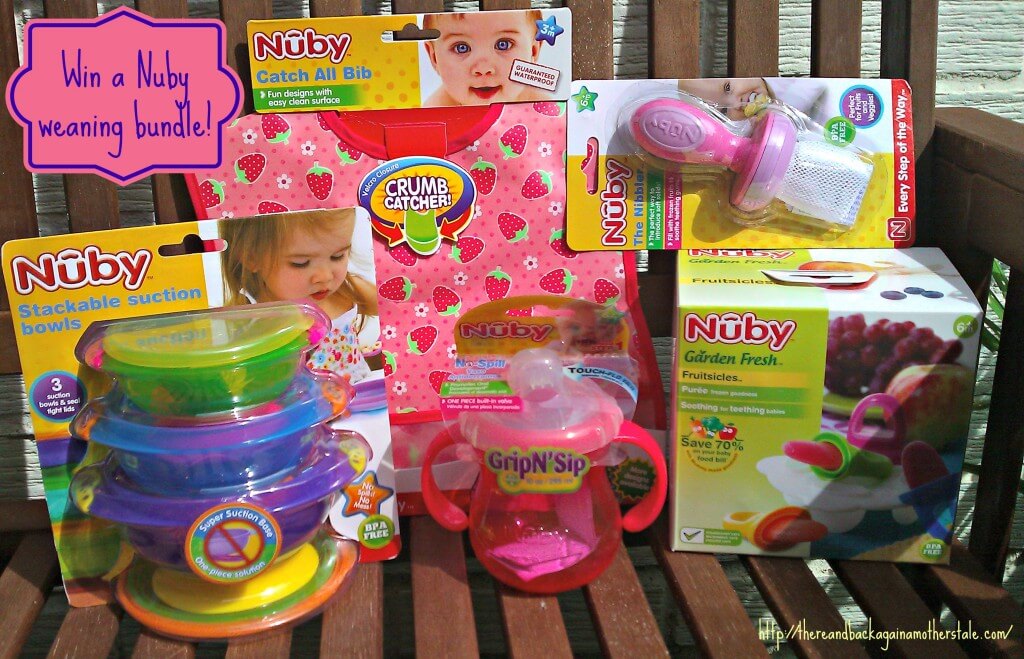
Nuby have kindly given me a bundle of Garden Fresh products to give away including:

  • Fruitsicles

  • Nibbler

  • Suction Bowls

  • Coverall Bib

  • Grip N Sip Cup

win a nuby weaning bundle

If you’d like to get your hands on this huge bundle of goodies simply enter via the Rafflecopter widget and leave a comment on this post

WINNER ANNOUNCEMENT – WELL DONE EMMA!

T&Cs – UK entries only, there is no cash alternative, winner will be chosen at random via Rafflecopter and informed within 24 hours of competition close

Toddler pinwheels for picky eaters

Real Life

I’ve been re-blogging this post about how to handle not being able to breastfeed for World Breastfeeding Week 2014 which comes to an end this weekend.

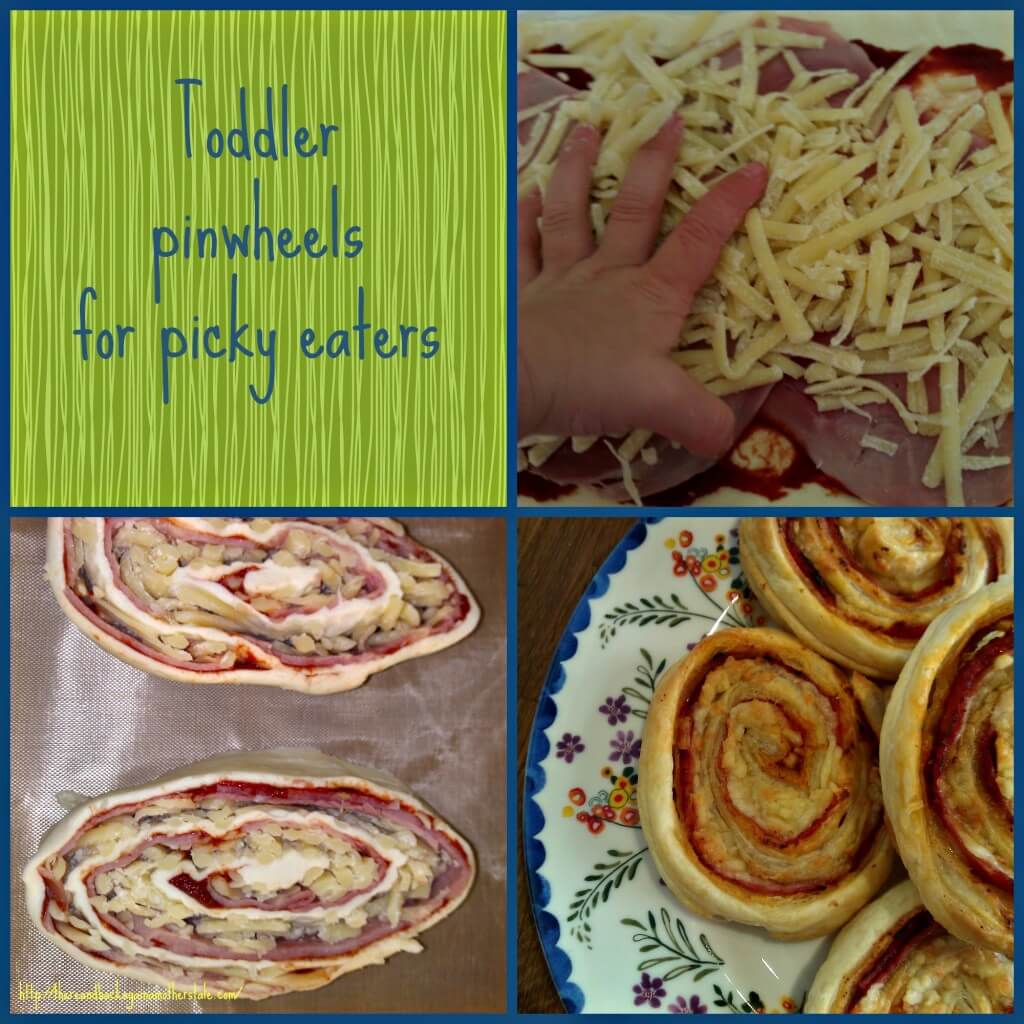
Joss has been a bit off colour lately and consequently has eaten very little. My toddler pinwheels for picky eaters are great for lunches and Joss usually plays with them, then eats a bit. If she is involved in making them and sprinkling the cheese then even better, she’ll be more interested in eating them as she had a hand in making them!

toddler pinwheel fussy eaters

Ingredients

Sheet puff pastry
Grated cheddar
Ham
Tomato puree or two tablespoons of passatta

I cut my puff pastry sheet in two and freeze half, the other half makes eight pinwheels. Unroll the pastry and spread the tomato onto the base, then top with slices of ham and then with grated cheese, my trusty cheese sprinkler Joss likes this bit!

Don’t overfill as the next stage is to roooool the sheet of pastry like a swiss roll, then slice into eight chunks, lay each out on a greaseproof papered baking sheet.

Bake at 180 degrees for 10 to 15 minutes then cool and serve, or store for the next day or two for packed lunches.

Blog life

I had tea with Beth from Betty and the Bumps and Hannah from Mums Days yesterday and they got me thinking about where my blog is going. I have a new list of questions and some things I am working on, like my blog traffic. In the short term I have posts coming up on handling toddler fears and a competition coming up too.

Inspiration

I have been reading some inspiring ideas on writing as posted by Beautiful Misbehaviour and giving some thought to a challenging post I’d like to draft

– See more at: http://mumsdays.com/#sthash.KOYZpbwP.dpuf

Cake Angels Ice Cream Cone Cupcake Review

Goodies

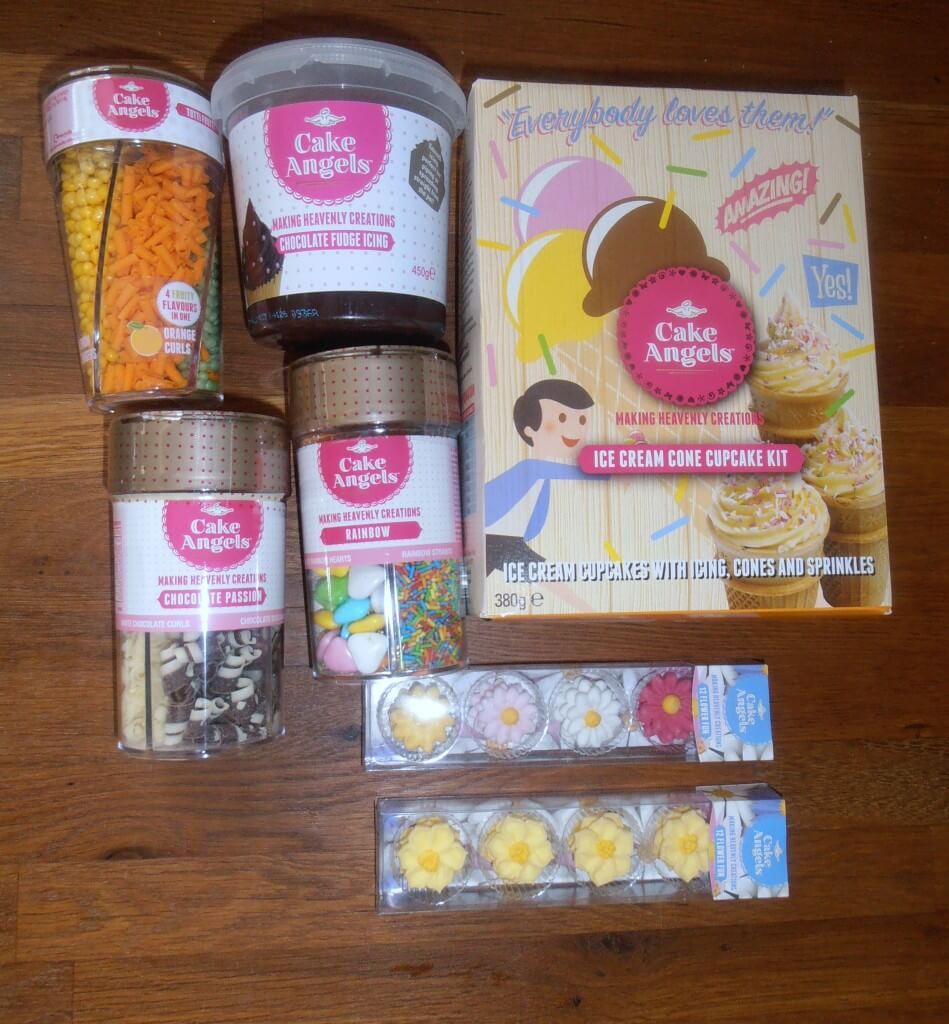
The lovely folk at Cake Angels sent us an exciting parcel this week, look at all those sprinkles, a cake lovers dream! Ice cream cone cupcake anyone? I was intrigued!

OLYMPUS DIGITAL CAMERA

How to

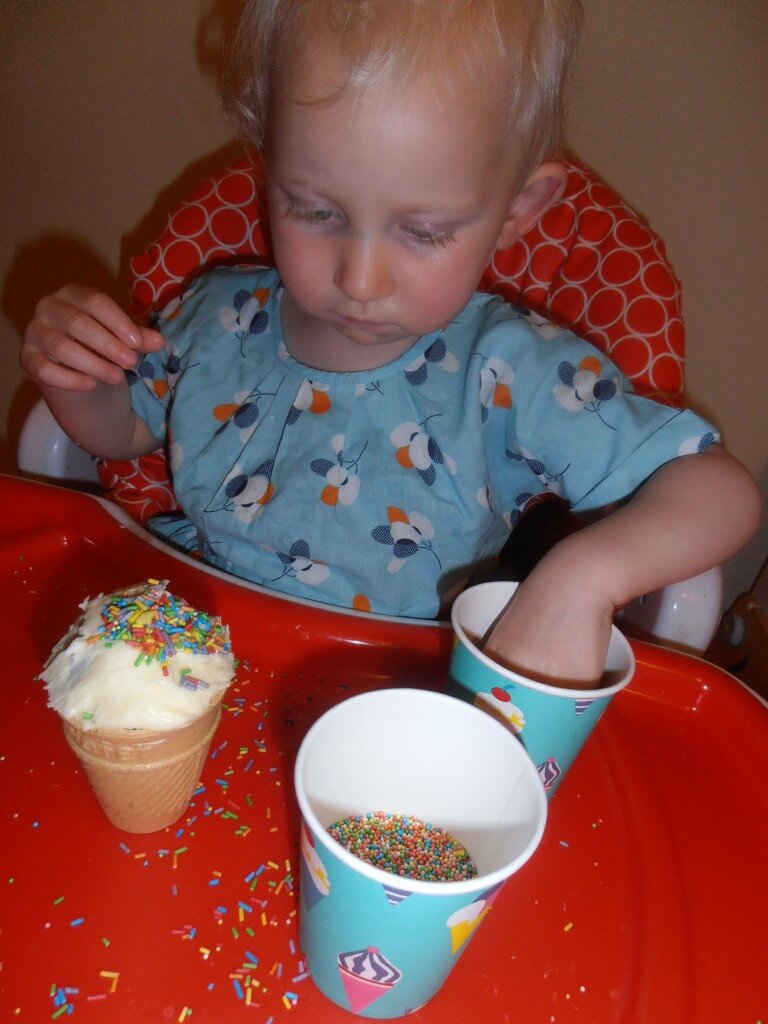
These cupcakes were so simple to make, just add water to the mix, fill the ice cream cones, and bake for 20 minutes. When they came out we let them cool, topped them with butter icing using the icing sugar from the pack, and then the fun part, decorations!

Sprinkles everywhere and a sticky child who really loved the vibrant colours! A stroke of luck that we had icecream themed cups from Polarn O Pyret’s party pack!

OLYMPUS DIGITAL CAMERA

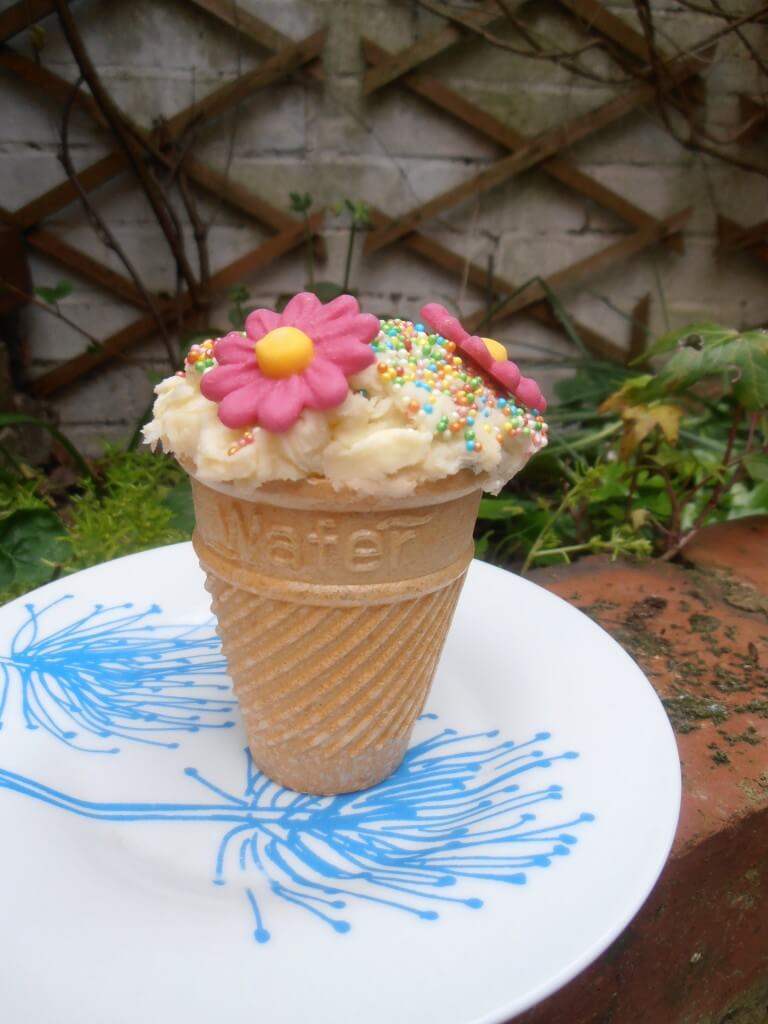
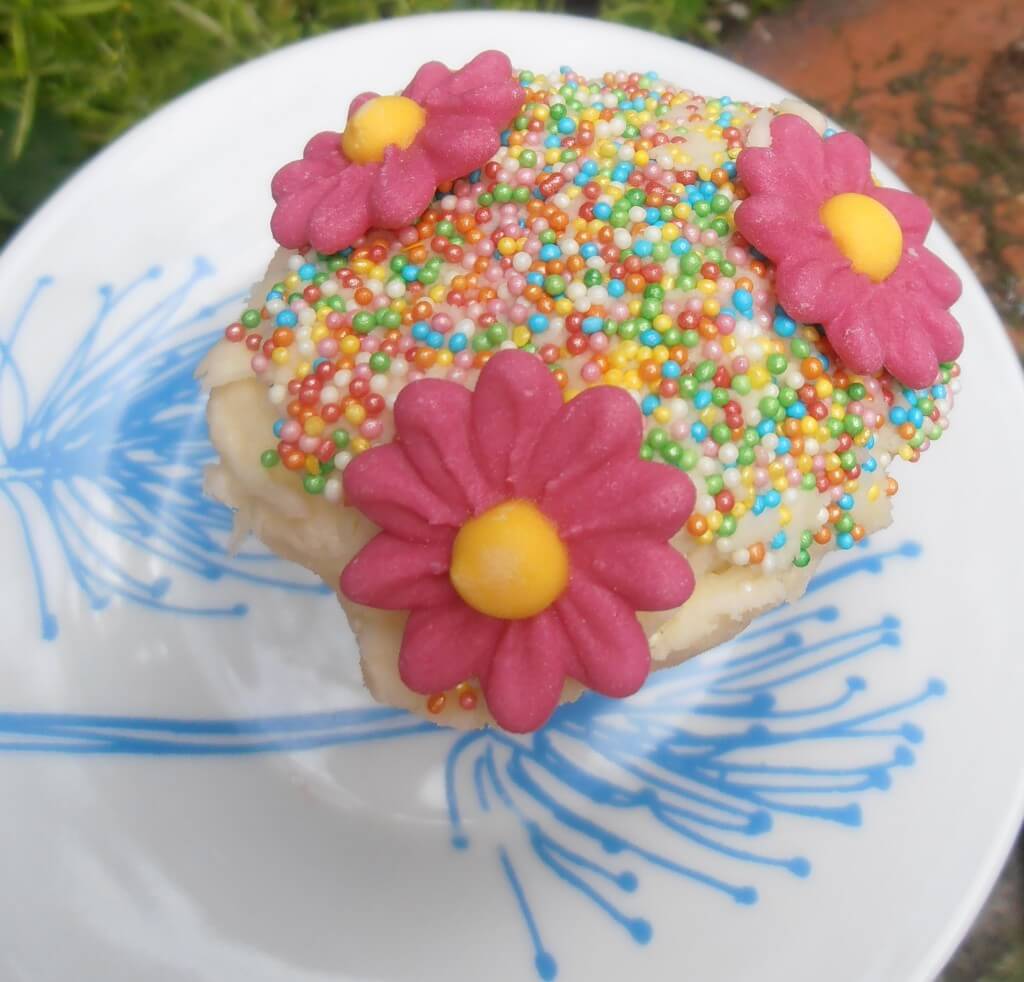
The proof is in the tasting of course, the cakes were light and airy and the chocolate flavour came through well, Joss loves icecream cones so that they stayed crispy was a big plus for her, and they were so simple for us to make together that I’d definately pick up another pack for a fun afternoon together!

What do you think?

Good enough to eat?

OLYMPUS DIGITAL CAMERA OLYMPUS DIGITAL CAMERA

WP_005443

Thanks Cake Angels, we really enjoyed our treat!

Disclaimer: I received these goodies for the purposes of review, all views are my own.

Very Berry Pavlova

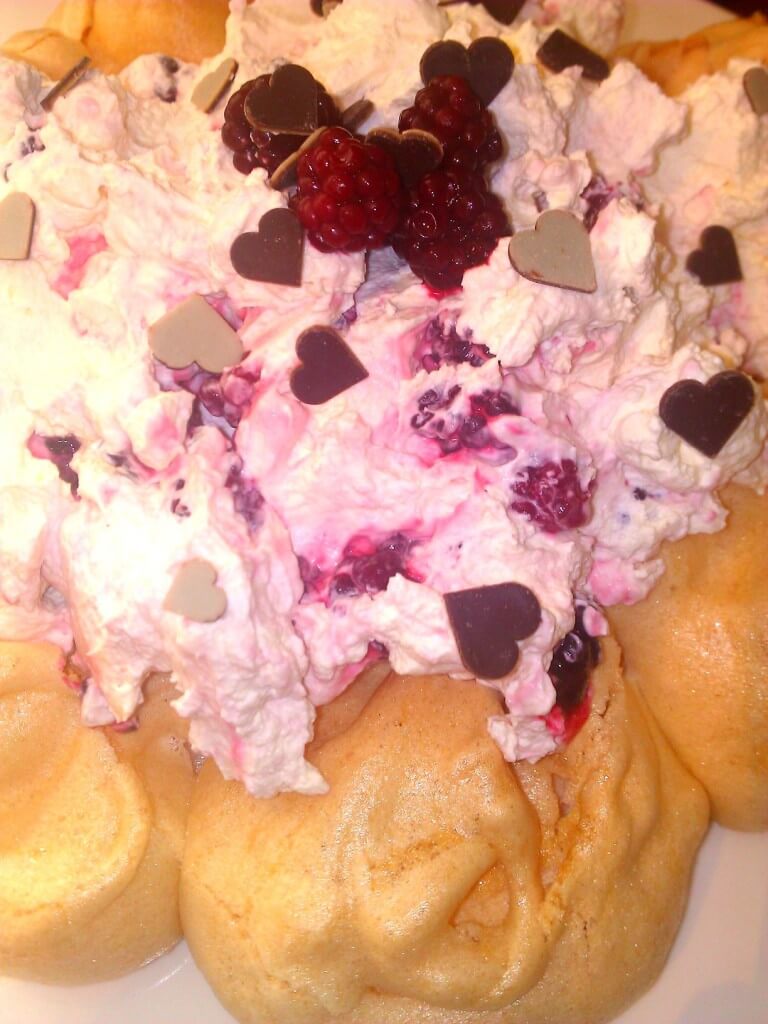
A simple very berry pavlova jam packed with frozen raspberries and blackberries, thrifty but with no compromise on taste!

pavlova1

Ingredients

3 large egg whites
175g golden caster sugar
Large tub whipped cream
100g of mixed frozen blackberries and raspberries defrosted
One teaspoon golden caster sugar

Preheat the oven to 150 degrees

For your meringue, place your egg whites in a large bowl and whisk until they form stiff peaks, you need to be able to turn the bowl upside down without the egg whites tipping out! Once at this stage stop whisking the egg whites will collapse

Whisk in the 175g sugar a tablespoon at a time, whisking until all the sugar is in.

Prepare a baking sheet with baking paper, spoon a third of the meringue mix on to the baking sheet and smooth out with a spoon to form a 6 inch circle

Take a large tablespoon of the remaining meringue mix and dollop next to the large circle spooning six smaller around the larger circle, this will form a ‘nest’ for the filling.

Put the baking sheet in the oven turning the heat down to 140 degrees and bake for an hour, then turn off the oven and leave the meringue in to cool and dry out.

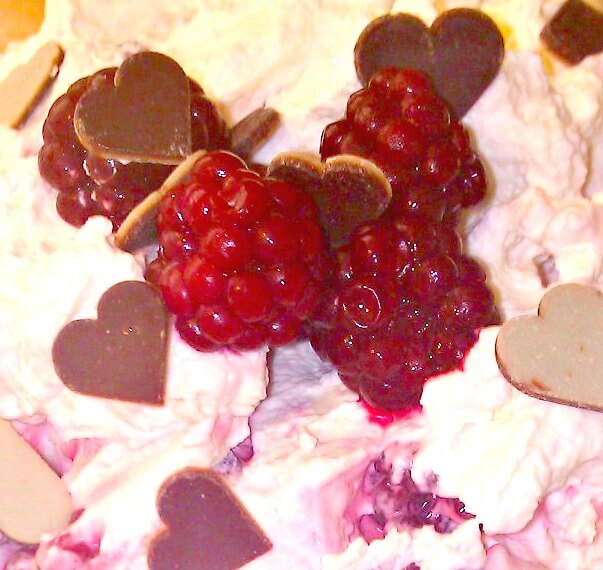
Top with whipped cream with the berries gently swirled through, you can decorate with chocolate if desired.

pavlova

Tasty Tuesdays on HonestMum.com

My Low Sugar ‘Pack a Punch’ Toddler Flapjack Bars

index

We love to eat these snack bars and adding flour means they hold together with less crumble so they’re really portable too. These are apricot and raisin but they are lovely with dates, prunes or dried berries too! Honey keeps them chewy but can be omitted for even less sugar. Why ‘pack a punch?’ Because they’re chock full of dried fruit and banana to keep you going on a busy day!

index

Ingredients

100g butter (toddlers could often use the extra fats but you can use light spread for grownups)
100g soft, stoned dried apricots chopped roughly
30g raisins
2 large ripe bananas, mashed
Large tablespoon self raising flour
2 tbsp honey (or fresh apple juice if preferred)
250g porridge oats

Instructions

Preheat oven to 180 degrees.
I make this in one pan, transferring into a silicone tray, if using an ordinary flapjack tray grease with additional butter.
Warm the butter in a saucepan and add the honey or juice, warm gently for a minute to loosen the honey, then turn heat off.
Add the chopped apricots and raisins, and mashed banana and mix well
Measure out the oats and mix self raising flour through them
Tip floury oat mix into the pan and mix well so the oats start to soak the moisture and look golden, the flour should all mix through.

Tip the mix into your flapjack tray and spread out, pressingly gently with the back of a spoon.

Bake for 15-20 minutes or until golden brown

Take out to cool, when cool turn out and slice into bars. Store in an airtight container and eat within 3-4 days.

Enjoy!

Tasty Tuesdays on HonestMum.com

The Fastest Ever Leftover Potato Pancakes

WP_004154

Ingredients

4 medium sized left over (cooked) potatoes roughly mashed

A splash of milk

1 large egg

5 heaped tablespoons flour

Oil to grease pan

These were a thrown together last week hence the hazy instructions but I’ve made them since and they’re fool proof!

I usually cook extra spuds to make potato salad or top up my work lunches as I am trying to cut down on bread.

I mixed the mashed potato with a beaten egg and added the flour mixing until it looked fairly smooth. I added milk until the mixture became loose, you want it to be the thickness and consistency of american pancake batter.

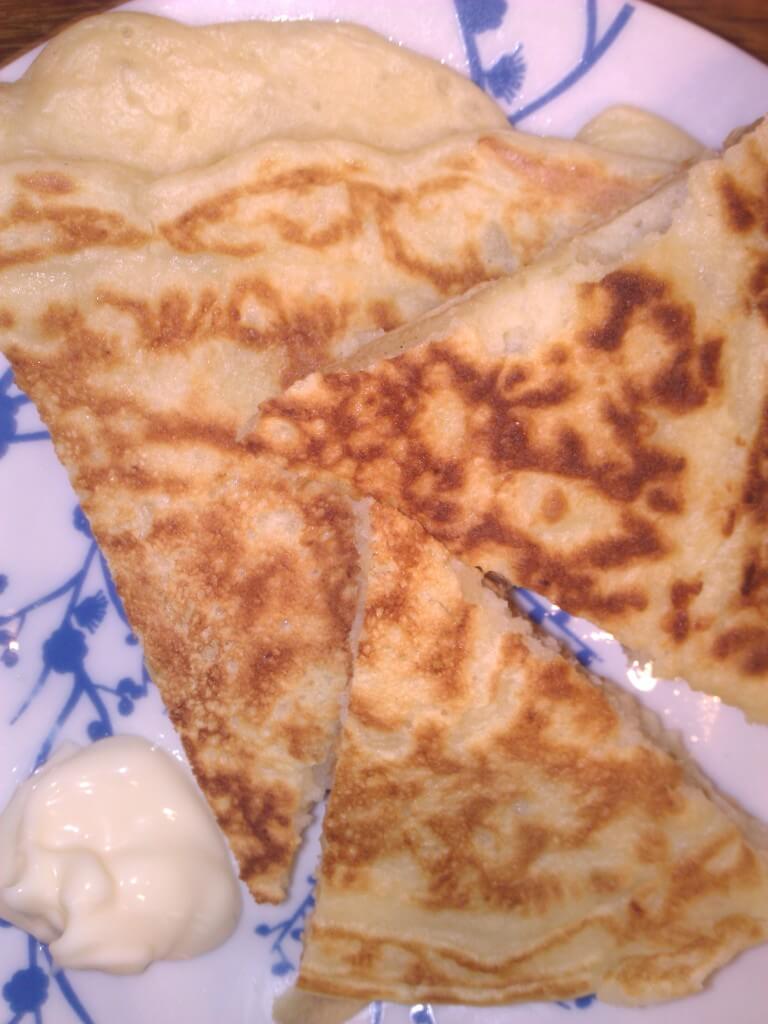
I greased the frying pan with a little oil and on a low heat poured all of the mixture out flattening with the back of a spoon until a cm in thickness. After four minutes it was ready to be flipped over, and another four minutes later I turned it out and let it cool for 30 seconds and cut into wedges to serve with mayo.

A fast and tasty lunch!

Tasty Tuesdays on HonestMum.com

Thrifty eats: tasty pea and bean burgers

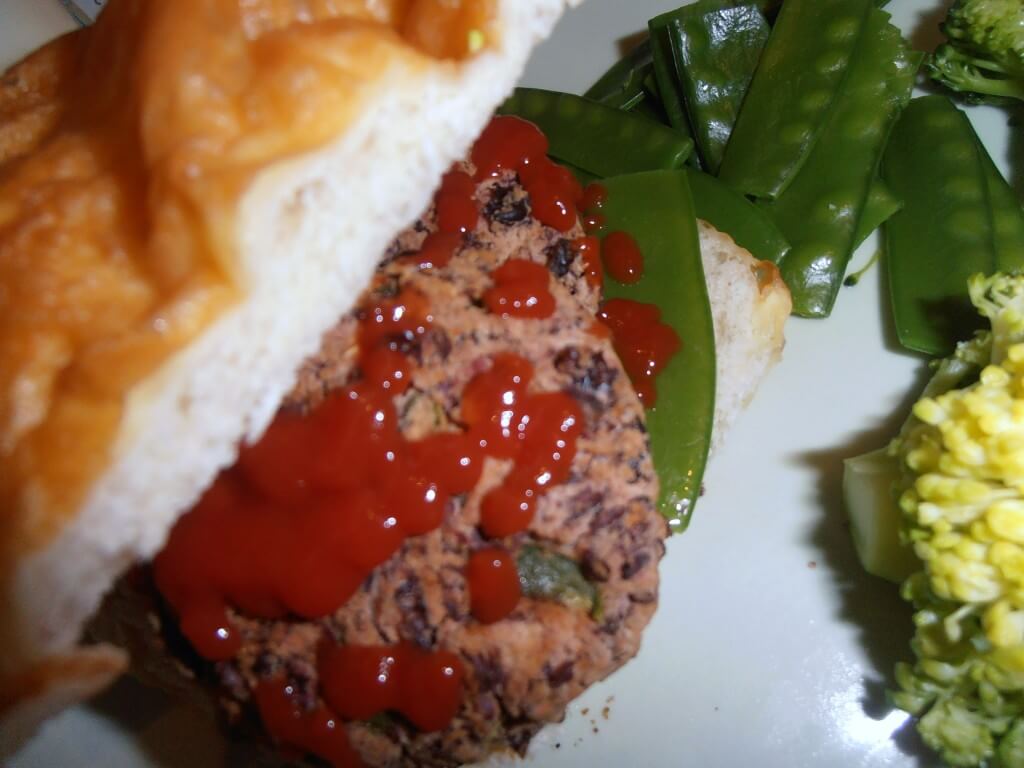
As well as being in utter chaos after three weeks of working on my dissertation the cupboards are bare, but I’m continuing my mission to try to eat well for less and so the last meal before the big shop to get stocked up again was these pea and bean burgers.

OLYMPUS DIGITAL CAMERA

I took a tip from Jack Monroe about rinsing cheap baked beans to get rid of the sugar and sauce and have nice plain white beans to work with, in the absence of cannellini beans these did just as well!

Ingredients:

1 400g tin baked beans rinsed well

1 400g tin kidney beans rinsed well

A handful of mange tout chopped finely

A teaspoon of cumin

A teaspoon of paprika

Salt and pepper to taste

Teaspoon of plain flour to make shaping easier


Cooking Instructions

Not really cooking instructions at all these are SOOOOO easy!

Bring the baked beans and kidney beans to the boil in a mug of water then turn down and simmer for five minutes.

Add the mange tout a minute before the end.

Drain and allow to cool for five minutes.

Stir the spices through well and then either use a potato masher or blender to mash the beans until you have something close to the texture of mash potato (I prefer the masher as I like to leave some beans whole for more bite).

I get ten small burgers from this mix, with floured hands shape ten rough balls of mixture and flatten each slightly to form a burger shape, I tend to freeze half to cook later from frozen and the portion we’re eating goes on a lightly greased baking tray for 12-15 minutes until golden and crisp outside and soft inside

Serve in rolls, with wedges or salad, or take to work cold for a quick nutritious lunch on the go!


Tasty Tuesdays on HonestMum.com