Working Mummy Style – Spring Wardrobe Revamp Tutorial

index

A while ago I read about the bin-bag method of editing your wardrobe and decided to do this myself as I knew I was burying my head in the sand holding onto some things either for sentimental reasons or ‘do you know how much that cost me’ reasons.

With the bin bag method you essentially:

1 – put every last thing you own in a bin bag so your wardrobe is totally empty
2 – plan a week’s wardrobe and take out the items you need
3 – take out more items as you need them
4 – sort bag for any seasonal pieces to store away
5 – Take the rest to the charity shop

I’m not gonna lie, it was hard work, but well worth it to see the items you think you love are often the least worn, if it’s not earning its keep consider selling it or gifting it to a charity shop!

Here’s my run down of the two weeks, and how I got my wardrobe down to roughly 30 items, including work wear, leisure wear and occasion wear, much more manageable for a busy working mam who needs to throw together outfits for meetings, days out at the park, work events and the odd wedding and party!

These are just two of an embarrassingly large number of bags I filled!

2

I was then left with this, scary!

1

I planned my outfits for the coming week, three days of workwear and three days of casual stuff for days at home with Joss, as well as one outfit for an evening out.

Here are a couple of examples of typical workwear stuff

OLYMPUS DIGITAL CAMERA

OLYMPUS DIGITAL CAMERA

And home wear

1078942_10151492445317062_785765095_o

972087_10151481202847062_1449463423_n

I then took items from the bags as and when I needed them, and at the end of the two weeks still had two bags full, I edited them for out of season stuff, folded them neatly and packed up the rest for the charity shop. Over 20 items were bagged for charity. The out of season gear went into this Cath Kidston clothing bag to protect them:

OLYMPUS DIGITAL CAMERA

OLYMPUS DIGITAL CAMERA

Accessories were hung into two storage systems, one from Ikea for scarves and belts, the other for my costume jewellery. Now I can see exactly what I have and choose pieces to accentuate my outfits
OLYMPUS DIGITAL CAMERA

OLYMPUS DIGITAL CAMERA

Shoes slotted into this storage hanger

OLYMPUS DIGITAL CAMERA

Bags went into this black box

OLYMPUS DIGITAL CAMERA

Finally I was left with this capsule wardrobe:

OLYMPUS DIGITAL CAMERA

So my wardrobe edit was been pared back to include just these items:

index

So what’s missing?

Editing out old clothing, clothing that no longer fit and clothing I no longer loved meant I could see everything I have in one place.

This meant I could identify gaps for the coming season.

I decided I could use a new pair of pumps, a skirt for evenings out and another pair of black work trousers. I knew I needed just three items, so rather than buy ten impulse purchases I spent £90 on three things that I love, that build on what I have and focussed on quality, not quantity.

This is what I went for, the black work trousers from my workwear photos above, this skirt:

30K15FCRM_large

And these pumps

WP_004420

I believe in spending more on items I will wear again and again, like my workbag, it’s been with me for six years, was expensive but is used daily and just gets better with age

OLYMPUS DIGITAL CAMERA

This Vivienne of Holloway dress which I adore, and am linking in to the Weekend Portait Photo Linky with this one as I love the day it captures so well!

1014040_10151844793872062_610052365_n

And these Tatty Devine brooches that always get a compliment

OLYMPUS DIGITAL CAMERA

And finally, my top tips:

If you love it but don’t wear it introduce it into the fortnight, if you’re not reaching for it then it’s probably not right for you

Work out some storage solutions that work for your items

and look to fill the gaps with quality, not quantity
apinchofjoy.com

Woodland Themed Nursery Fabric Picture Tutorial

I’m finding that it’s all very well and good having this free time to relax and get involved in some crafting but there’s really not much that I ‘need’ to make at the moment, we’re stocked up with birthday cards and the likes so I decided to turn my hand to making some birthday gifts.

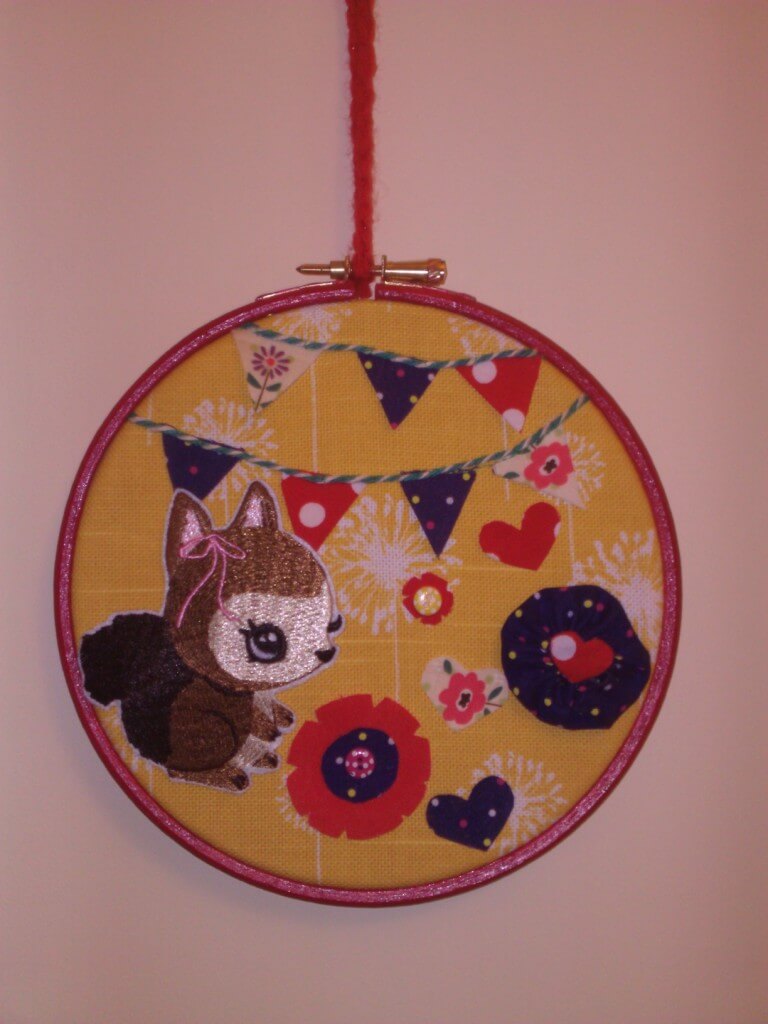
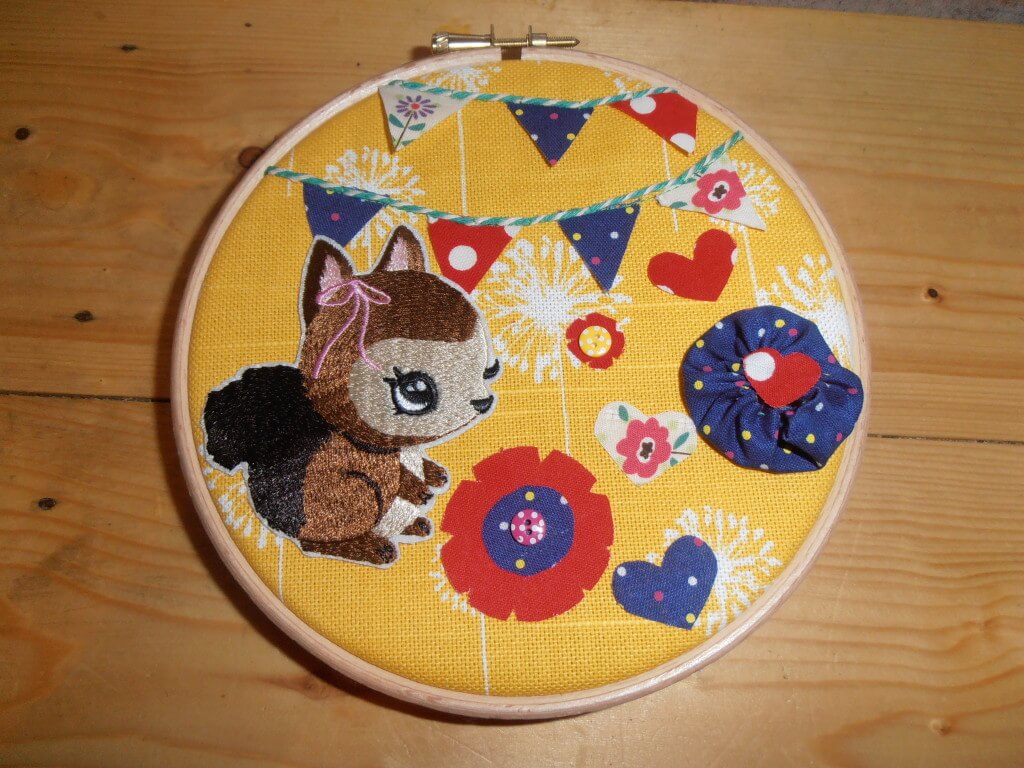
This little framed mixed-medium picture was thrifty and fun to make.

WP_004161

Perfect for a toddler or young child’s room I hope that its recipient will like it!

If you’d like to make one yourself I suggest checking out charity shops for a similar embroidery hoop, I think they make really sweet frames for these fabric pictures, painted or plain they look good with a ribbon to hang them!

Materials

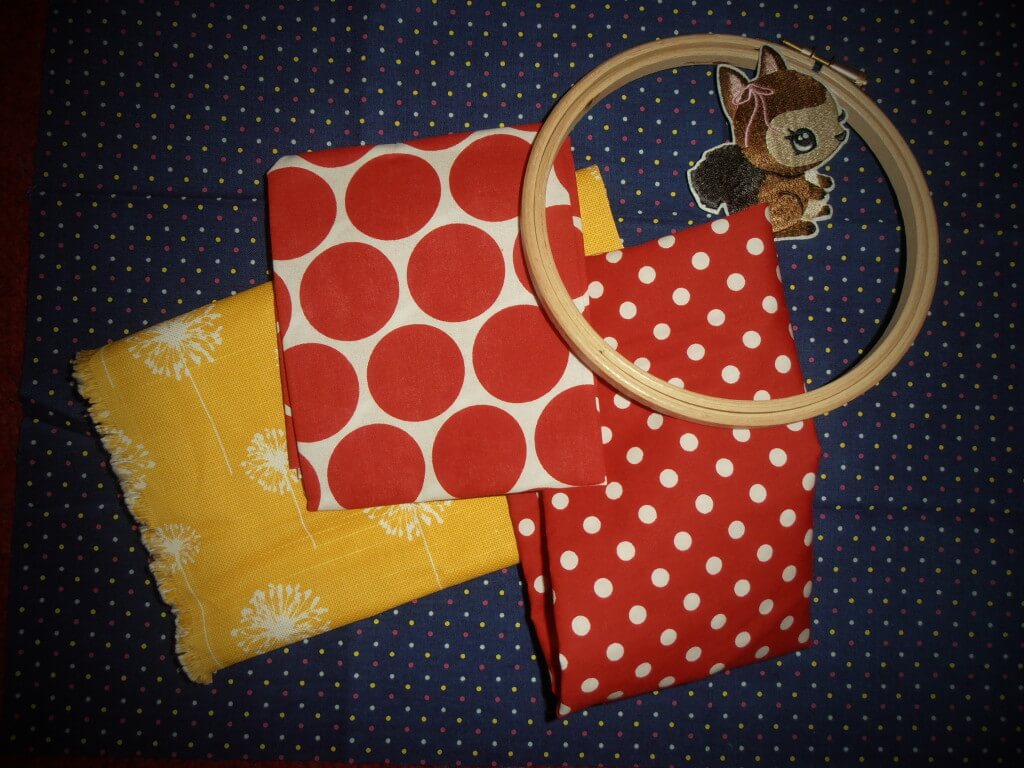
I started with an embroidery hoop (50p in a charity shop), some twine and little buttons and a selection of fabrics from my own stash, my sewing machine, but you can do much of it by hand, and some red project paint left over from this project. I had the little squirrel iron on patch from a set from H&M that I bought to decorate some plain t-shirts for Joss, so this one cost about 40p.

OLYMPUS DIGITAL CAMERA

Base fabric

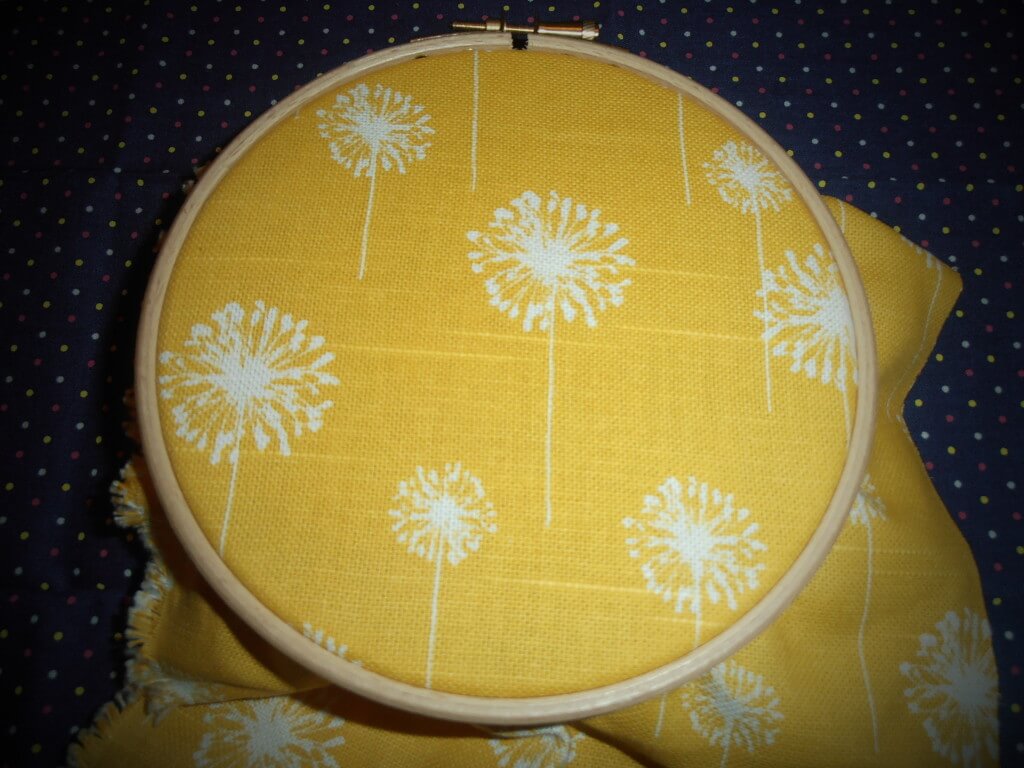
I selected this bright yellow flower print base fabric as it is pretty robust.

OLYMPUS DIGITAL CAMERA

I drew around the outside of my hoop to give a guide for cutting the excess fabric, then drew around the centre piece to mark out the workspace I will be adding embellishment to.

Theme

Then I laid out my various bits and bobs to go apply to it as I went along. I decided on bunting and flowers with the woodland squirrel as these are pretty safe toddler themes, and as I prefer brights for a little one’s room I went with blues and reds to complement the yellow.

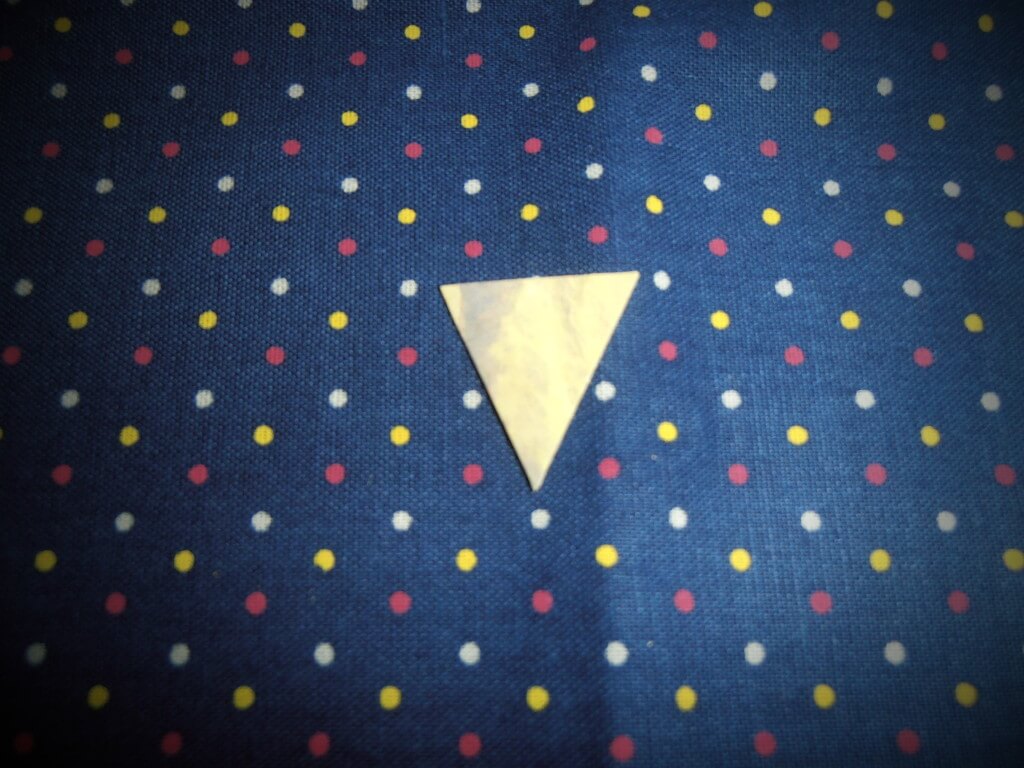
I cut a cardboard triangle to use as a template for my bunting flags, drew around it and cut out seven flags.

OLYMPUS DIGITAL CAMERA

Getting started

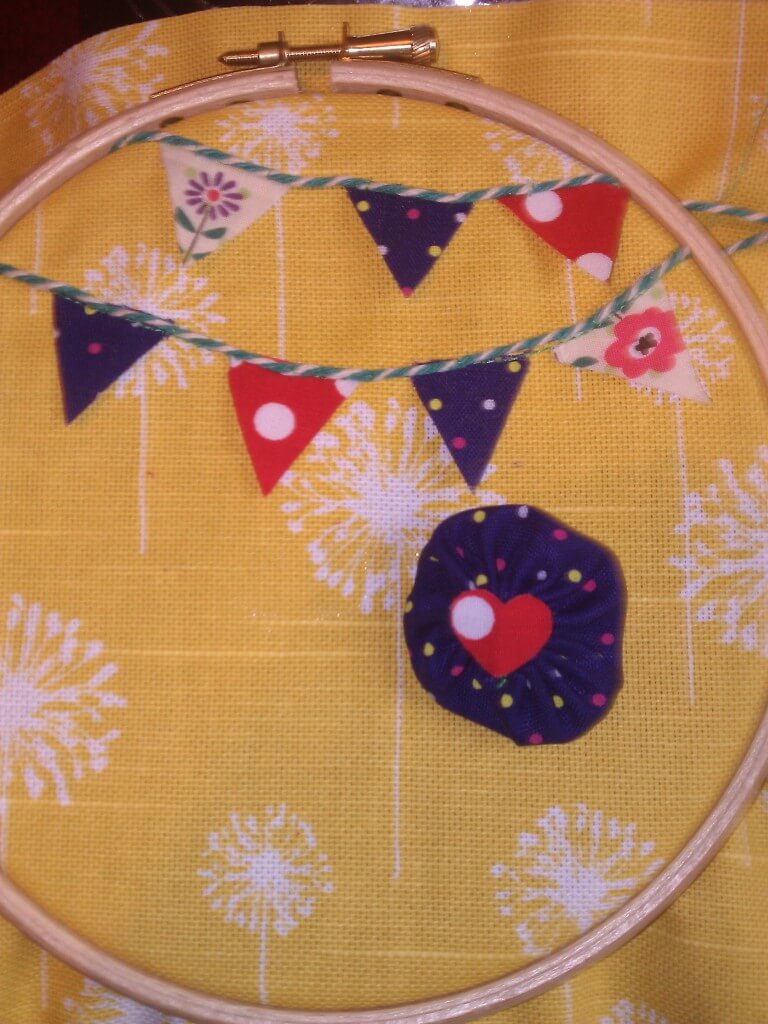
I stitched the bunting flags in place

sewing

Then I cut two lengths of twine which I overlaid with a few stitches at inch intervals to hold in place
twsine

Embellishments

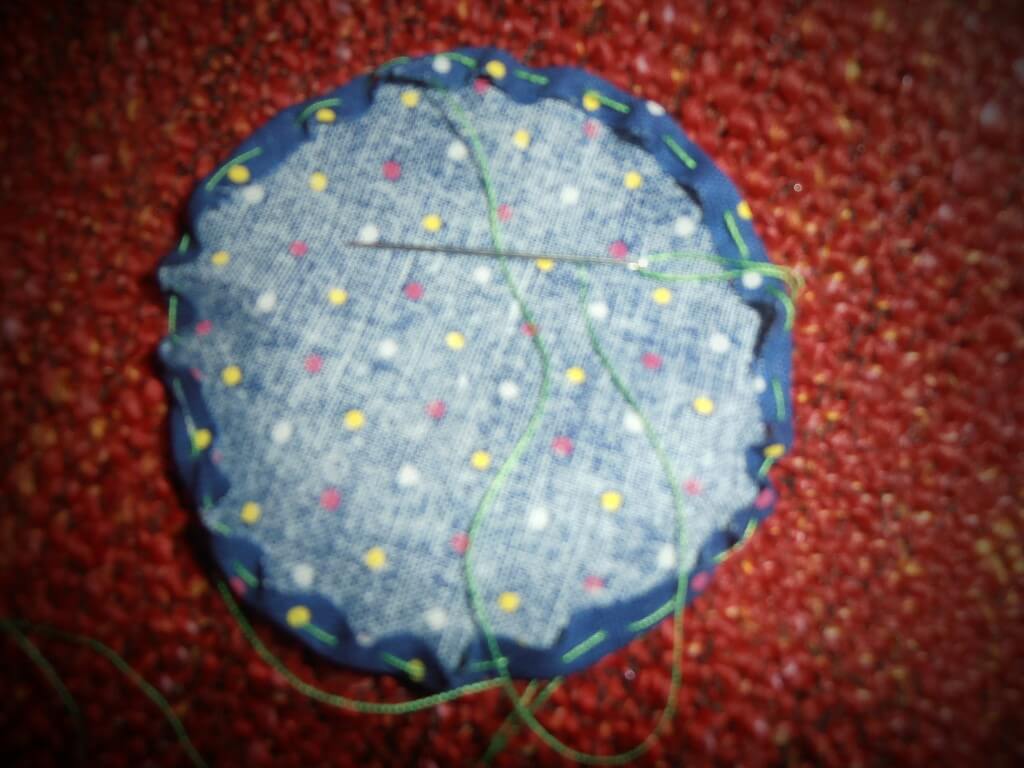
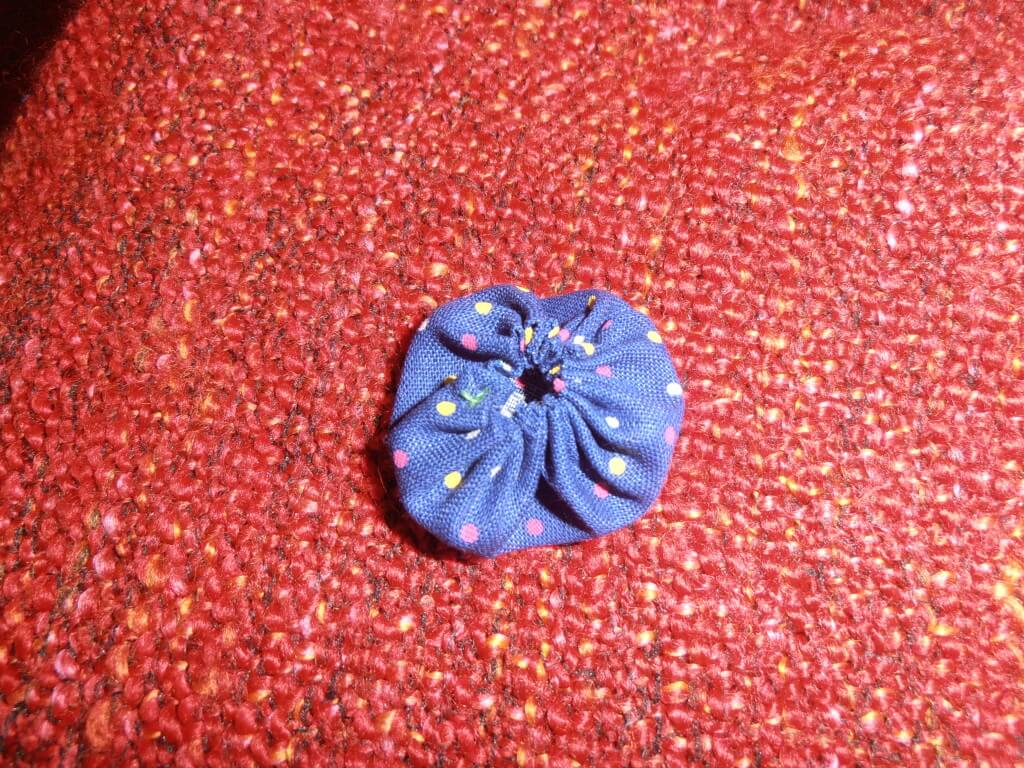
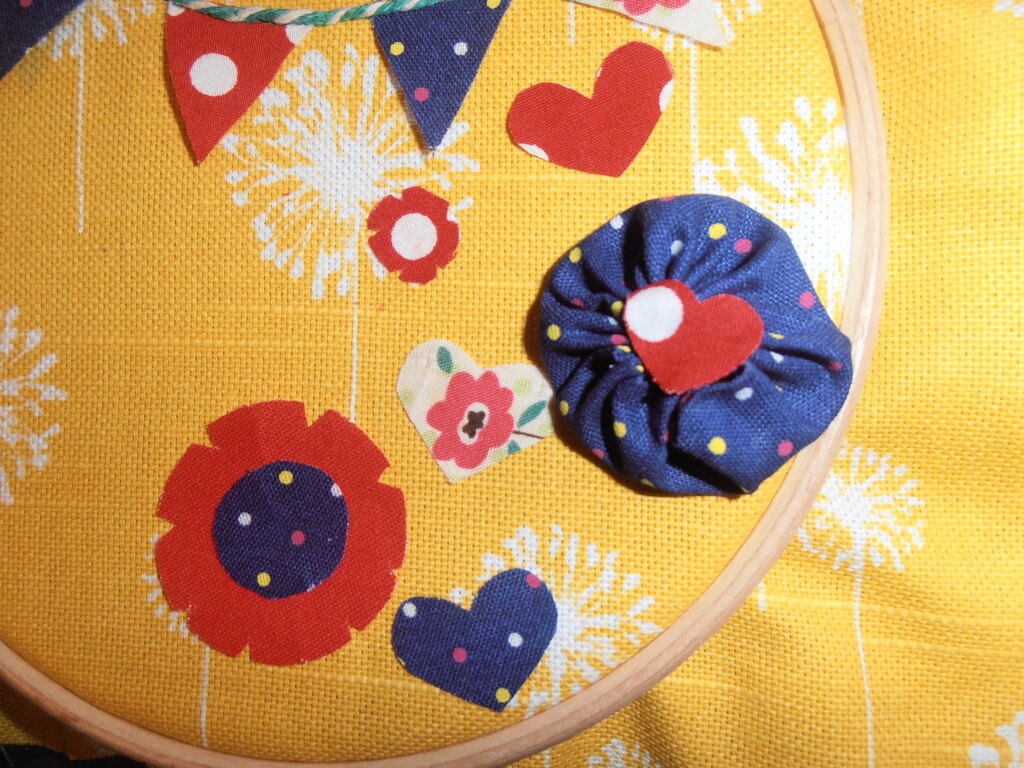
I made a fabric yo yo as a flower embellishment, I love yoyos, they’re very simple. There’s a great tutorial here, but basically you cut a circle of fabric and leaving a long tail of thread as you start fold and tack a quarter of an inch under on the wrong side of the fabric as you go with a needle and thread, once you reach where you started hold both ends of the thread and pull tightly to gather the fabric, then knot the ends of the thread and neaten with scissors leaving as it is or in my case adding a small red fabric heart to cover the hole where the yo yo fabric gathers in the middle.

OLYMPUS DIGITAL CAMERA

OLYMPUS DIGITAL CAMERA

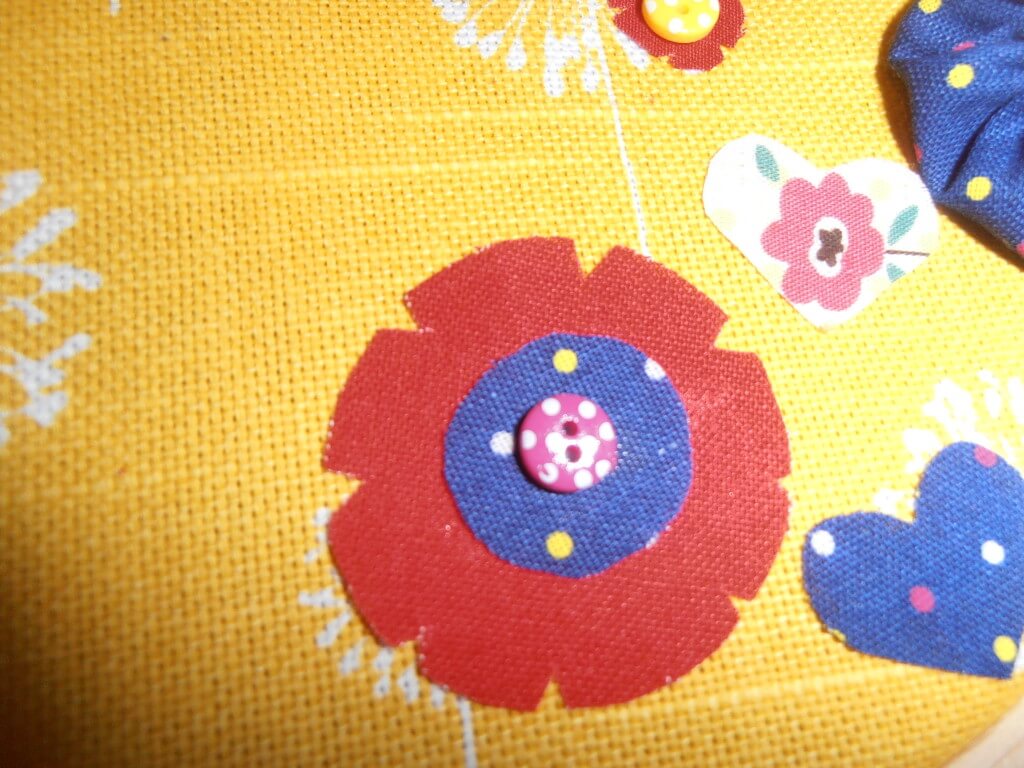
I cut fabric hearts and fabric flower shapes by cutting more circles and then cutting out notches to form petals, layering where I fancied and adding button centres to add interest, I decided to glue some in place and stitch others to add to the homespun effect.

OLYMPUS DIGITAL CAMERA

OLYMPUS DIGITAL CAMERA

Finishing touches

Finally I ironed my little squirrel motif in place.

OLYMPUS DIGITAL CAMERA

Once I’d trimmed the yellow fabric back and tightened the frame using the screw fix I decided it needed a little lift

OLYMPUS DIGITAL CAMERA

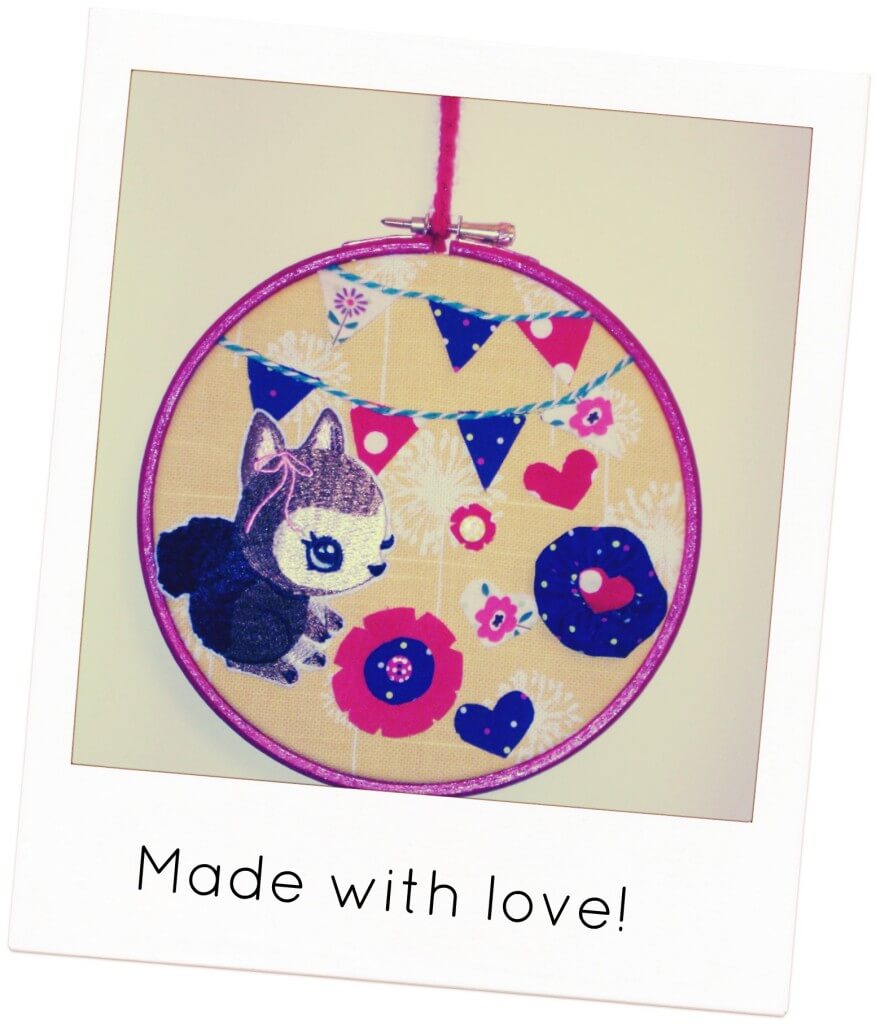
I painted the frame red and as I didn’t have ribbon I crocheted a strand of single crochet to add a loop to hang up the frame (I am a great believer in using what you have to hand)!

Tada!

index

Thrifty-Thursday-Badge

Taxedo / Tagxedo tutorial – recording memories, first words and phrases

My last Taxedo / Tagxedo tutorial had a lot of interest, I wanted to share my latest, which captures some of the interesting phrases Joss has been coming out with!

Here it is!

heart

You can either point Tagxedo to a website, your blog perhaps, and have a tag cloud created out of common words on the site, or write a string of words as I did.

You may need to install Tagxedo first:

1

Click on Load on the left and type your text in the box:

2

If you want to record a phrase use a tilde between words to keep them together i.e. sit~down
Click submit and have fun playing with the colours and shapes on the left, there is a lot of choice!

3

Click save and share to save your design and upload to your blog as you would any photograph or print to make a sweet greetings card (and remember that you cannot use Tagxedo for commercial purposes)